Setting Up the Ledger Nano
The Ledger Nano is a commonly used hardware wallet provided by Ledger. It is form of cold storage that allows you to connect to the Internet Computer, using the NNS dapp, and stake ICP Tokens.
Ledger Live
Regardless of whether you use the Ledger through the NNS dapp or directly through the command line, the first thing you will need to do is set up your Ledger Nano X or Ledger Nano S, initializing a PIN and recovery phrase.
Download Ledger Live, plug your Ledger into a trusted computer, then follow the start up process. For a detailed walkthrough, check out our tutorial. If you are struggling with USB connection issues, Ledger has troubleshooting tips on their website as well.
One important thing to keep in mind when using the Ledger is that the supported browsers currently include Chrome v89+, Edge v89+, and Opera v76+.
Once the Ledger has been initialized, download the Internet Computer app from the Ledger App Catalog.
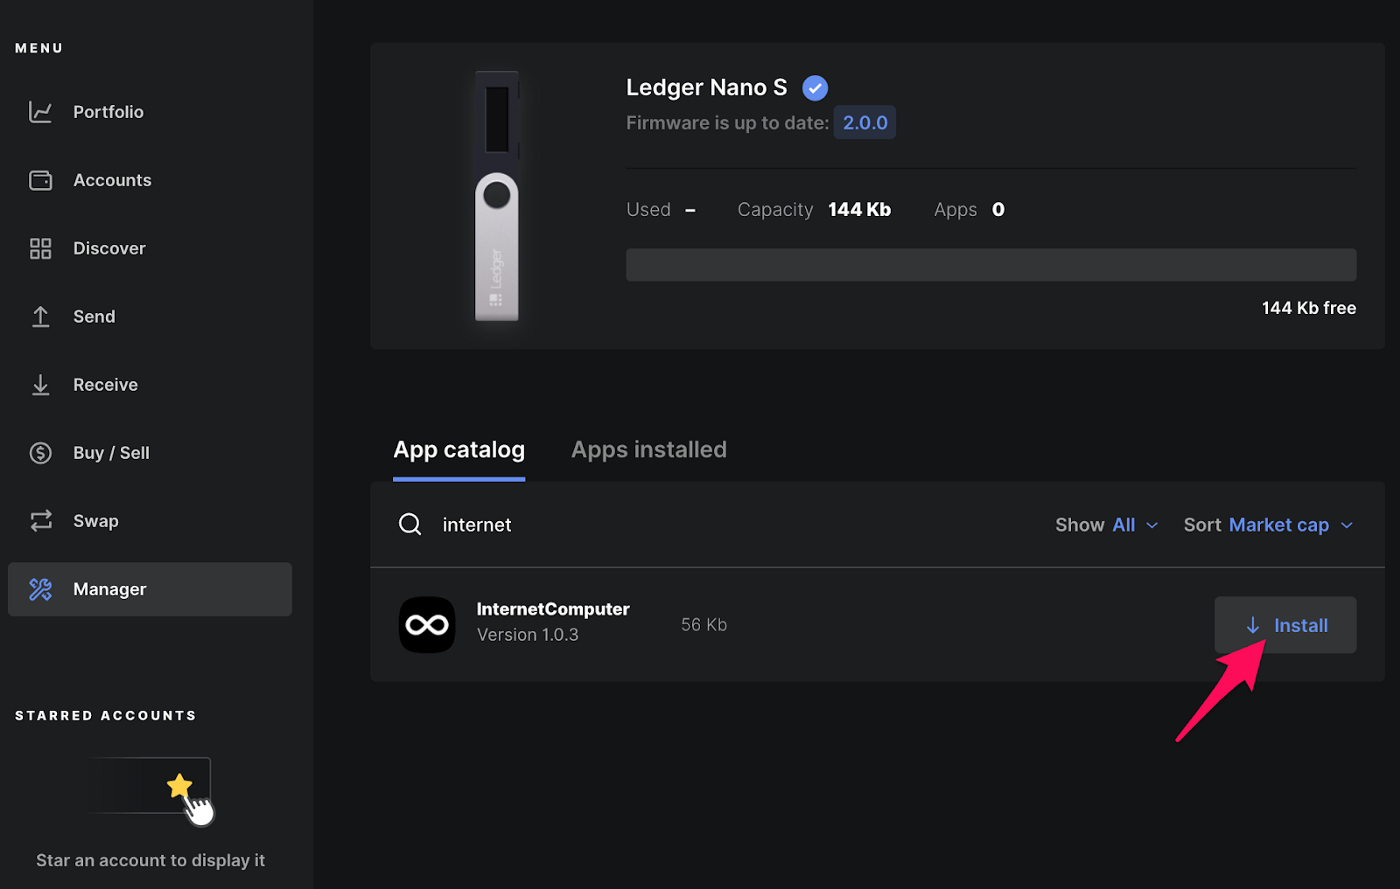
Once the app has been installed, you're ready to move on.
Connecting the Ledger Nano to an NNS Account
If you have initialized your Ledger Nano and set up an NNS account, the next step is to connect these two pieces together. Start by clicking the button on the bottom right that says "Add Account"
Then choose "Attach Hardware Wallet" and name your device.
Afterwards, Connect to Wallet and confirm by clicking "Attach Wallet"
Now your Ledger Nano should be connected and ready to use!
Once you've successfully attached your wallet, you should automatically be redirected to the Ledger Wallet Account page. You can also click the Accounts tab to view all your active accounts, Ledger, or otherwise.
Here, you can view the amount of ICP tokens in your Ledger account, as well as copy your address for any reason. From this point, the process for creating a new transaction and creating a neuron are the same as if you were to do so directly from your main account, assuming your Ledger remains plugged into your computer.
Transactions with the Ledger Nano
To access the Ledger Nano while making a transaction, you first need to initiate the transaction using the "New Transaction" button.
Then, you can select your Ledger Wallet Account, enter the amount of ICP you'd like to send, as well as the Wallet Address that you'd like to send ICP to. Once you've made sure that you've input the correct information, click Review to proceed.
Review the transaction on this page, then once you're ready, click Execute to finalize.
And you're done! The appropriate funds should be dispersed shortly.
Using the Command Line Interface with the Ledger Nano
The other way to connect is through this CLI, and you can find the resources needed on our Github. You'll still need to set up your Ledger using Ledger Live, but instead of heading to our NNS dapp, you can choose to:
- Install
npm >= 6.14. - Install the CLI:
npm install -g @dfinity/hardware-wallet-cli - Run the CLI:
ic-hardware-wallet --help
From here, clone the repository from our Github.
You can install dependencies with npm install.
To execute a command, you can use npm run execute -- <args>.
For more information on the capabilities of the NNS dapp and your Ledger, check out this Medium post.